1. Installation
Download the ISO
First, You’ll need to download the latest Blade OS ISO, Which can be found here.
DownloadPreparing the installation media
In order to install Blade OS, You’ll need an installation media. There’s multiple programs that can get the job done.
Rufus (Windows)
Rufus is a quick way to burn ISO’s to USB flash drives.
DownloadBalena Etcher (Windows, Mac, Linux)
Etcher is an easy to use & quick way to burn ISO’s into USB flash drives. It’s very simple and gets the job done quickly. In addition, it supports all 3 major platforms.
Download for Windows/Mac Linux version available through your distro’s package manager.
Ventoy (Windows, Mac, Linux)
Ventoy is a tool that allows you to multi-boot ISO’s in one drive. It’s very easy to use, Just drag and drop the ISO into the drive.
DownloadEntering the BIOS
Depending on your system, You’ll need to press a certain key while booting up your system to access the BIOS. Most devices can boot into it by using F9, F12, or DEL.
Disable secure boot (UEFI only)
Secure boot can prevent you from booting in & installing Blade OS. In order to disable it, You’ll need to go to the Security section of your BIOS, and disable it.
Changing your boot order
To change your boot order, Go to the boot section of your BIOS. Then sort your Blade OS installation media to the top. After doing that, Make sure you save & exit.
Booting into Blade OS
Upon saving changes, You’ll be given a few options on the bootloader.
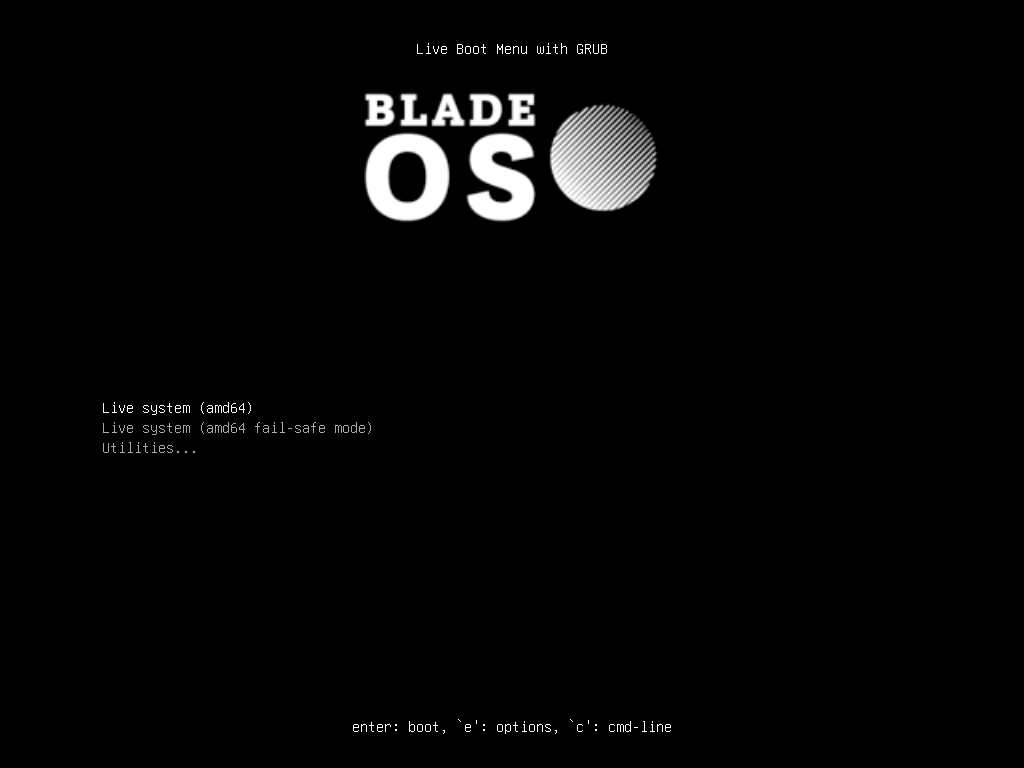
Select “Live system” to boot. If things aren’t working, Try fail-safe mode. You should see a loading screen with the Blade OS logo.
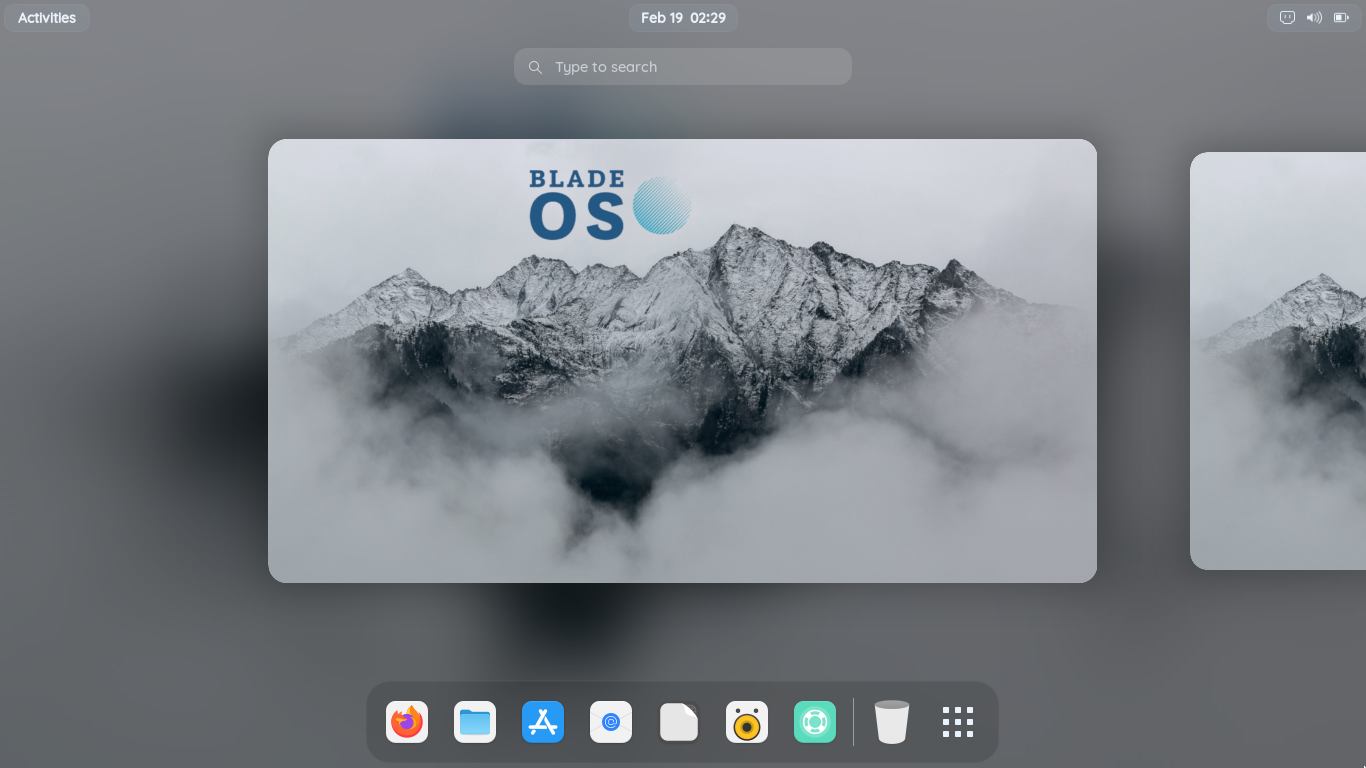
Try out Blade OS before installing
We recommend you trying out Blade OS before installing it. Make sure all apps work & your system runs smoothly with it.
Run the installer
If you’re ready to install Blade OS to your system, close all apps & open the “Install Blade” app. Set everything up to your liking until you reach the partitioning section.
Partition the drive
There’s multiple ways to partition your drive.
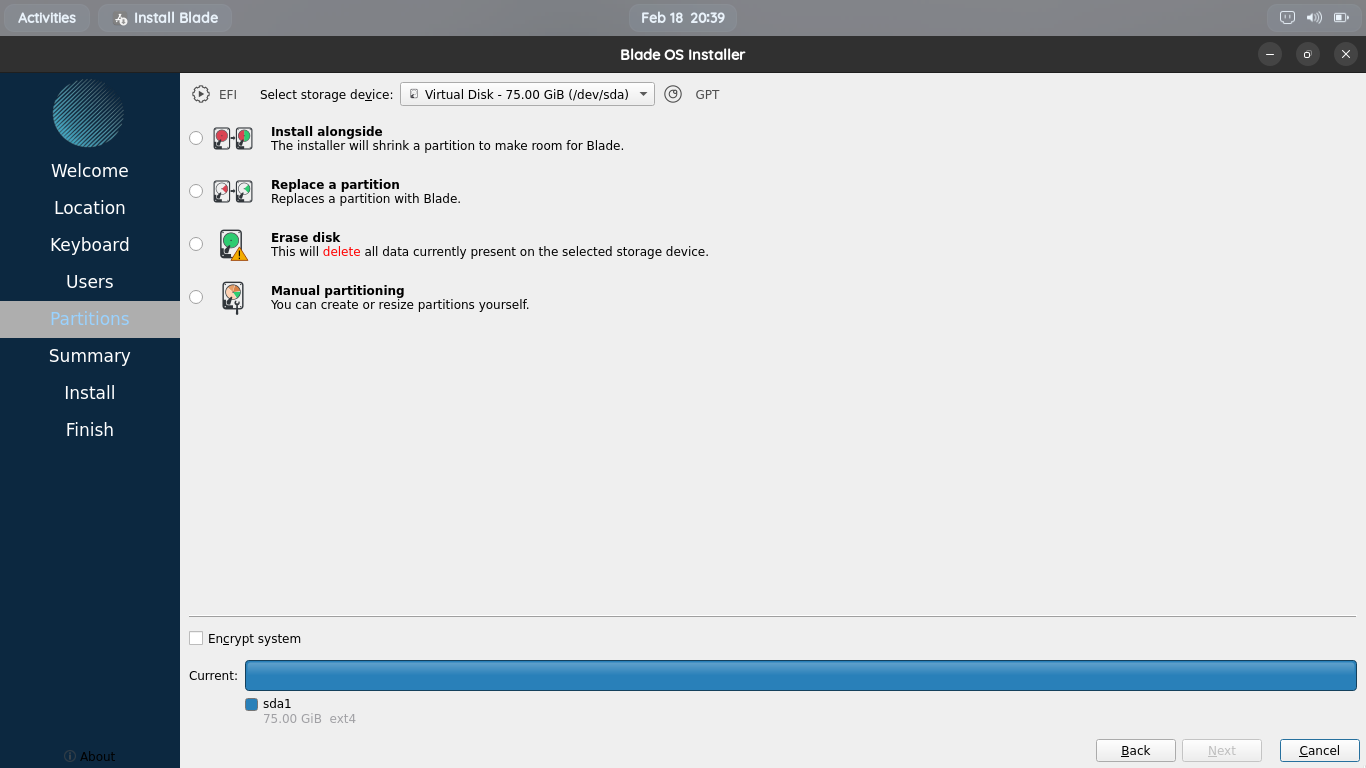
Erase Disk (Default): This will erase everything off your drive & install Blade OS.
Replace a partition: This will erase a partition off your drive and installs Blade OS on it. Great for dual-booting.
Install alongside (Dual-booting): This will shrink your current operating system to install Blade OS. This allows you to use both without erasing data.
Manual partitioning (Advanced): This will allow you to partition your drive manually. This option should usually be avoided unless you know what you’re doing.
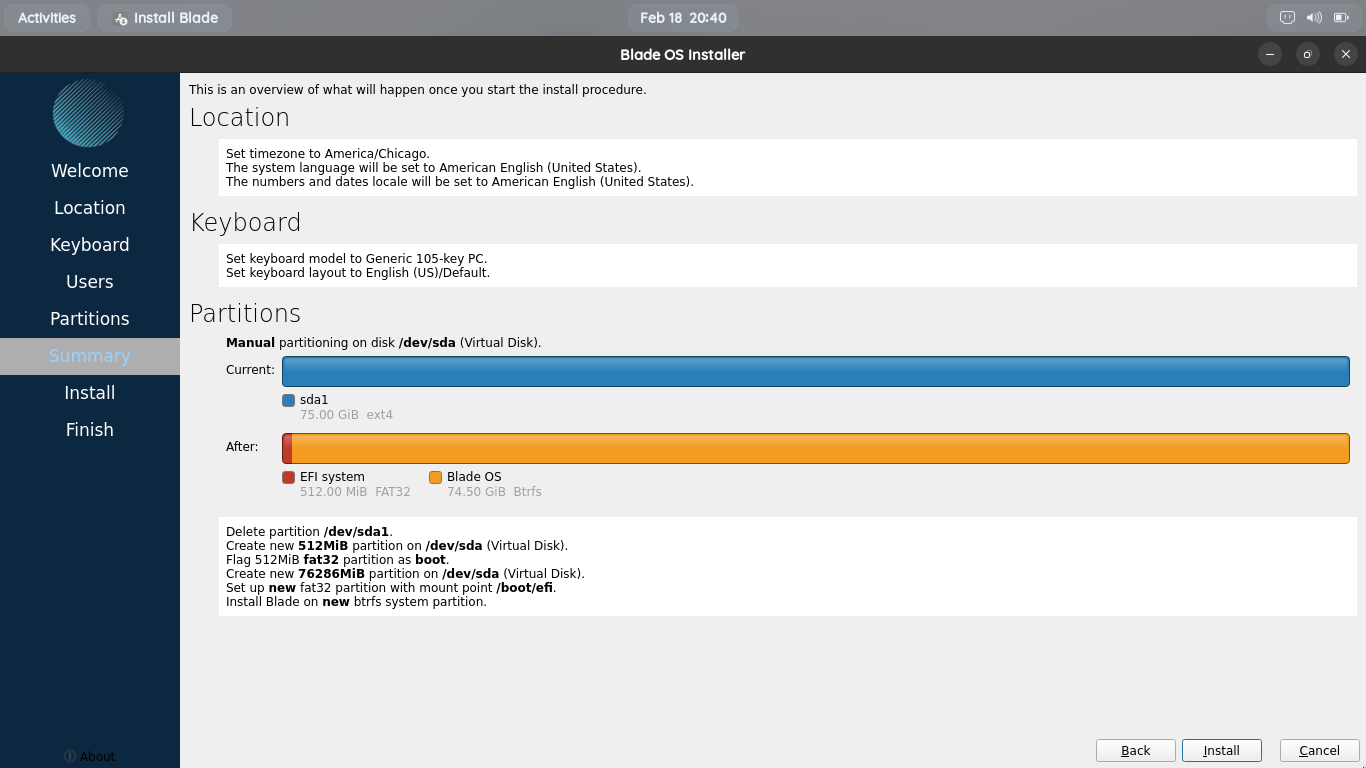
Confirm changes before installation
Make sure everything is right before installing. Once you have confirmed, Press the install button.
Finish installation
Blade OS is now installing. This might take awhile depending on your system’s speeds. Please don’t interrupt this process.
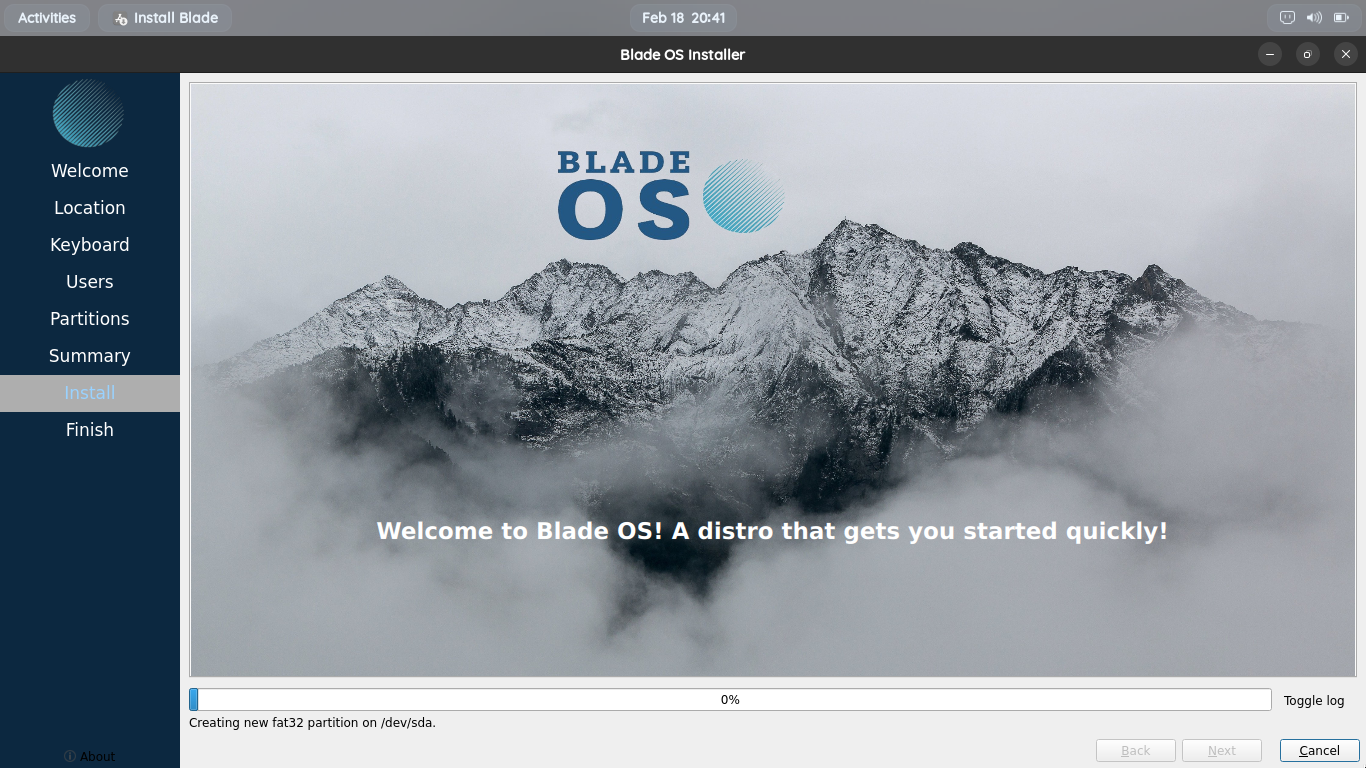
Once the installation has completed, Remove the drive & reboot your system. Please follow any additional setup steps on-screen. Blade OS has been installed!